“If you need a machine and don’t buy it, then you will ultimately find that you have paid for it and don’t have it.”
— Henry Ford, via Clayton Christensen
These days I’m working on an HTTP server in C using WebSockets, just to get a taste of how things work under the hood.
The only functionality of the server is to listen for incoming requests and send HTML and media files.
Cloud services have become extremely popular due to accessibility, scalability, and the fact that real hardware is abstracted away from developers.
I wanted to see for myself what it’s like to self-host on a bare-metal server — even though it’s a small project.
At this point, my servers are sitting idle anyway, so why not?
Note
I over simplified all the steps which took me hours to figure out.
But once you get it, that’s itIf you are planning to self-host your personal projects, the steps are pretty much the same for any VPS or physical machine — all you need is a host.
1. Get a Machine
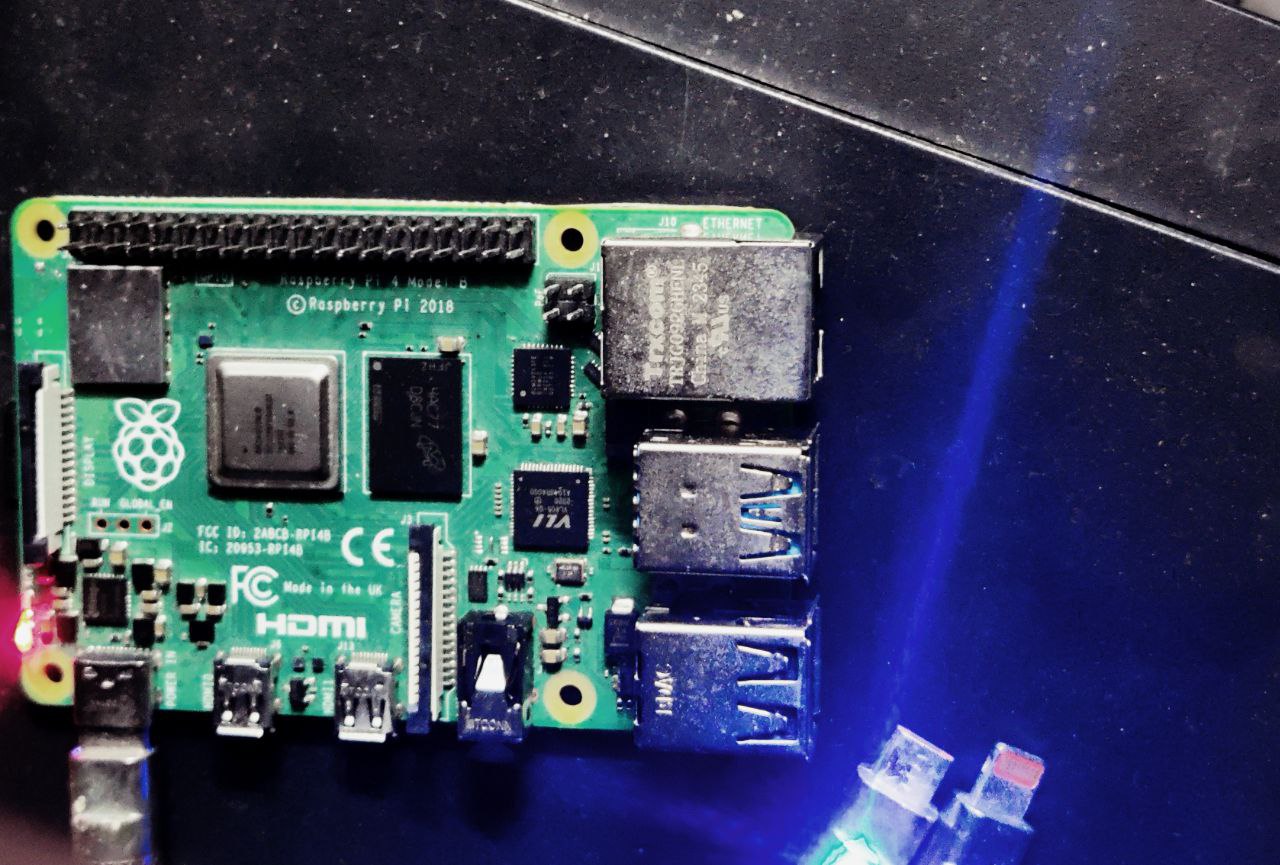
- Cheapest way to get started is buying a Raspberry Pi with minimum 4GB RAM
- Flash a lightweight Linux distro (headless)
- Operate completely from CLI
- Perfect for personal or hobby projects
- Great first step into homelabbing
VPS (Platform as a Service)
You can rent a VPS from providers such as:
- Linode
- AWS EC2
- DigitalOcean
- Hostinger
- Vultr
For Front-End Developers
You probably don’t want to manage your own server.
Serverless platforms handle deployment automatically.
Examples:
- Vercel
- Netlify
- AWS Amplify
Most of these services are basically wrappers around AWS with nicer developer experience.
2. Connecting to the Internet
I had no idea where to begin, so I researched for a couple of days about self-hosting.
Here’s what I learned:
- Hosting usually requires port forwarding
- You need a static IP
- Most ISPs don’t give static IPv4 addresses
- Because they use CGNAT (Carrier-Grade NAT)
I discovered web tunnels, which forward traffic to a server running on localhost.
Note:
Tunnels are okay for demos but not recommended for high-traffic production systems.
So I created a Cloudflare tunnel (free) and ran the cloudflared daemon.
This acts as a bridge between my machine and Cloudflare servers, forwarding requests to my local server.
Daemon

“A daemon is a background process that handles requests for services like file transfers, printing, or managing network connections — kind of like a waiter at a restaurant.”
The word comes from ancient Greek meaning an attendant spirit.
Invisible, but always there.
— Elliot, Mr. Robot
3. Creating Your Own Daemon
I SSH’d into my remote machine.
SSH itself runs a daemon called sshd.
To create your own daemon service:
Create a service file
sudo vim /etc/systemd/system/<name>.service
Set: executable path working directory restart policy
[Unit]
Description=My Custom Daemon
After=network.target

[Service]
ExecStart=${PATH}
Restart=always
User=${USR}
WorkingDirectory=${PATH}

[Install]
WantedBy=multi-user.target
Manage your service
# After creating service
sudo systemctl daemon-reload

# Start or stop
sudo systemctl start <service>
sudo systemctl stop mydaemon
sudo systemctl restart mydaemon

# Enable on boot
sudo systemctl enable <service>

# Check Status
sudo systemctl status <service>

# Check logs
sudo journalctl -xe
4. Buy a Domain
Without a domain people cannot find you. I strongly recommend buying a domain if you’re into web programming. A single domain can host multiple applications and static sites. Point your DNS to the Cloudflare tunnel. Cloudflare Zero Trust dashboard can be overwhelming for beginners.
5. Share Everywhere
Self-hosting is not that hard, and it’s very rewarding to spin up your own server. It’s fascinating to understand how the internet actually works.
You can check my self-hosted project:
https://album.wannabex.sbs Topics I’m Exploring Threads & Mutexes Load Balancers Containerization Socket Programming OS and Kernel